PBR stands for Physically Based Rendering which uses mathematical formulas to depict metal, plastic, wood, glass and other substances in the 3D world.
To render a realistic scenery you will use models with assigned PBR materials. They are at the foundation of modern AR and VR experiences.
You can create 3D applications for your store no matter whether you’re using Magento 2, WooCommerce or Shopify. Product configurators, AR previews at customer’s home, virtual showrooms - experience funnels leading to new conversions.
3D models for web applications are usually stored in glTF 2.0 file format. It is the standard for Web 3D and uses the metallic workflow for materials. You’ll read about the advantages and limitations of metallic workflow later in this article.
What are PBR Materials? (Physically Based Rendering Explained)
Physically Based Rendering (PBR) materials are a cornerstone of modern 3D visualization that mimics the real world. Contrary to the empirically defined lighting models, PBR bases light interactions on the physical properties of the substance.
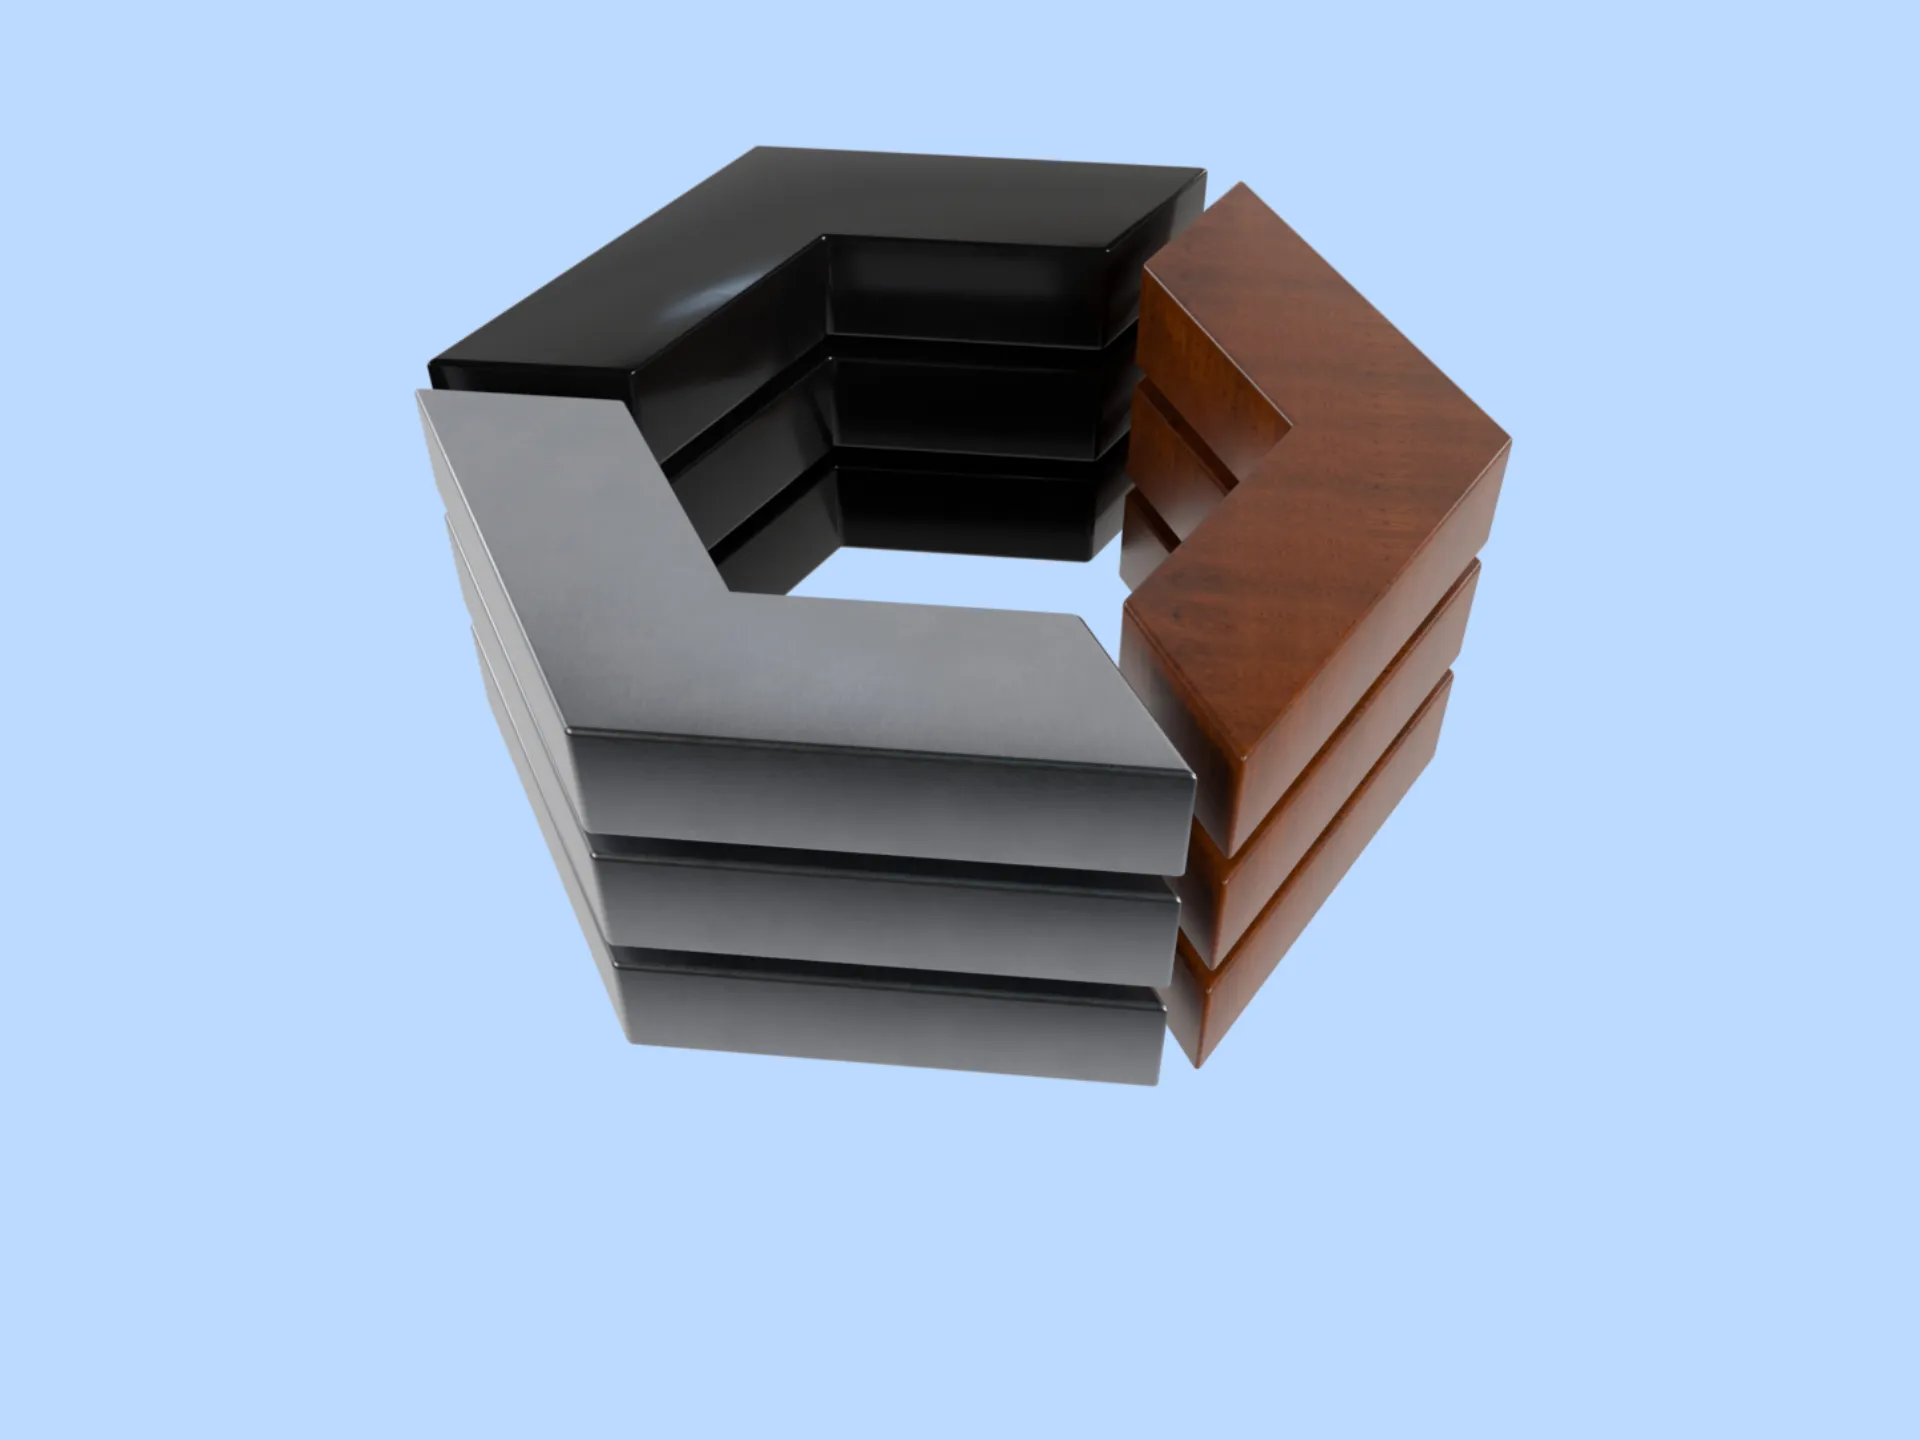
Products rarely use only one material.
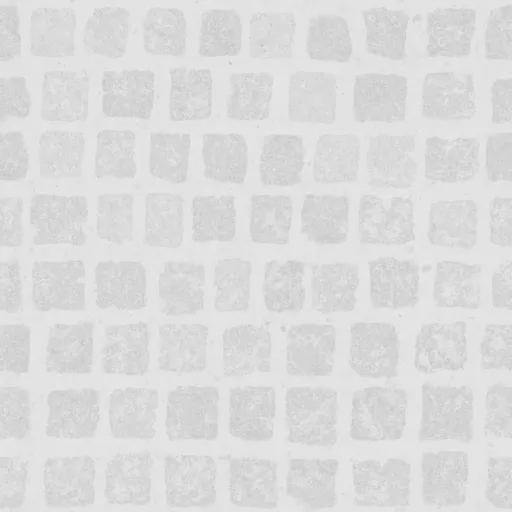
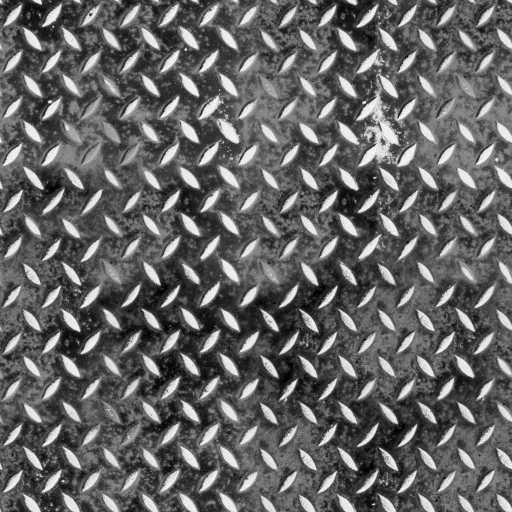
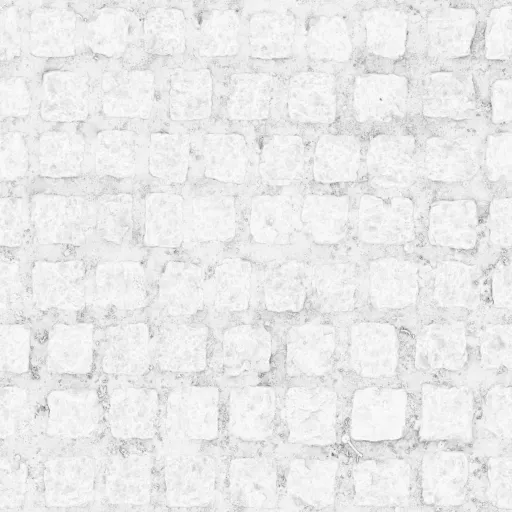
Textures called maps define different aspects of the surface, such as albedo (color), metalness, roughness and normal maps. These components made high fidelity rendering possible in real-time.
With PBR materials, you can easily render your product, whether it is made of copper, glass, silk or synthetic plastic, preserving its properties and details.
Metallic vs Specular Workflow: Which One is for PBR?
The metallic workflow is a pivotal aspect of Physically Based Rendering (PBR).
This workflow is characterized by its use of a grayscale metalness map, which marks the metallic properties of different areas on a surface.
A metallic workflow does not mean it can represent only metals. Dielectric materials have metalness property set to zero.
Metals are conductors and reflect most of the electromagnetic (light) waves. In contrast, a dielectric is transparent to electromagnetic waves and reflects lower amounts of light.
In reality, it is often a black and white map where black color (value 0.0) marks the dielectric part and white color (1.0) marks the metal.
Physical objects are metals or dielectrics. However, to indicate stains, dirt, or rust, it is possible to rely on values between 0.0 and 1.0, as texture resolution is limited.
Metallic Workflow
As discussed, the metallic workflow uses a metalness map to differentiate metallic from non-metallic surfaces on a model. This map, combined with a roughness map, defines how light reflects off surfaces.
Metallic areas (marked as white on the map) reflect light with high intensity and coloration specific to the type of metal, while non-metallic areas (shown as black) absorb more light and show diffuse reflection.
This approach simplifies the rendering process by reducing the number of maps required, making it particularly efficient for real-time applications such as gaming and interactive AR.
Sometimes you might encounter rendering artifacts where transitions between metalness and dielectric part are smooth.
Specular Workflow
In contrast, the specular workflow uses a specular map that defines the reflectivity of different areas on a surface.
This map allows for finer control over how light reflects off surfaces, not just distinguishing between metal and non-metal, but also varying the intensity and tint of reflections across surfaces as well.
It is based more on how computer graphics work and how artist think. Especially useful for custom fantasy styles, which rarely find application in ecommerce. Also, less common material such as mother-of-pearl looks better with specular workflow.
The specular workflow often includes a separate reflectivity map and may use a glossiness map instead of roughness to control the sharpness of reflections.
The key difference lies in how they manage material properties and light interaction: the metallic workflow categorizes surfaces to metallic or not, using a binary approach which is straightforward and effective for a wide range of materials but with slightly less control over intermediate values.
It has nuanced control over reflectivity and glossiness, suitable for achieving specific visual effects and detailed customization of material appearances, especially in environments where precision in material depiction is critical.
How to Choose the Right PBR Workflow for Your 3D Models?
The glTF 2.0 uses metallic workflow, but it is possible to convert specular to metallic if you have models prepared in specular workflow.
Metals and Dielectrics
Material things are metals or dielectrics, which are important distinctions in the realm of PBR (Physically Based Rendering). This classification directly affects how materials reflect light and interact with their environment.
Metallic Materials
Metals have a distinctive way of handling light. They often have higher reflectivity and exhibit minimal diffuse reflection.
In PBR, a high metallic value usually defines metals and can range in color based on the metal type (e.g., gold, silver, copper).
Usually the specular highlight is the same color as the metal itself, differing from non-metals where the specular highlight is typically white.
Dielectrics (Non-metals)
Dielectrics include materials like wood, glass, and plastic. They reflect light mostly as diffuse reflection and have a much lower or zero metallic value in PBR settings.
The specular reflection of dielectrics is often less intense and colored neutrally compared with metals.
They also exhibit different levels of roughness, affecting the sharpness of their reflections.
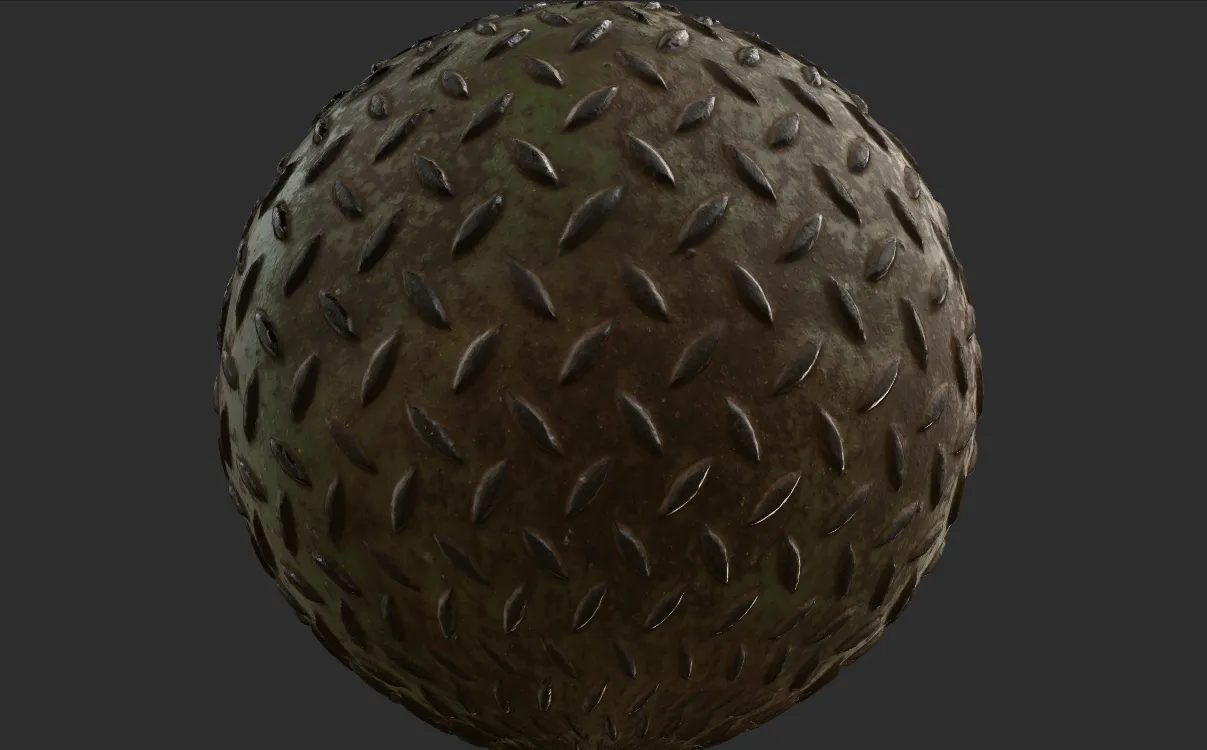
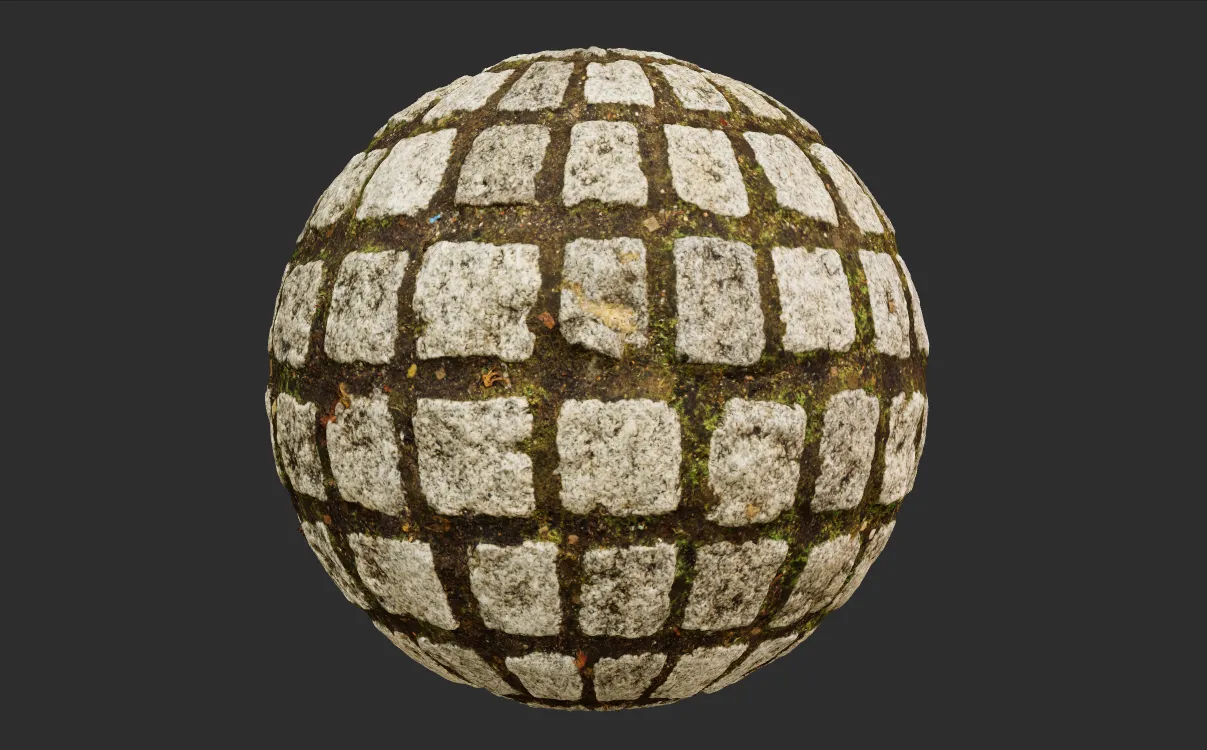
Essential PBR Textures and Maps for Realistic 3D Rendering
Geographical maps guide us through the world and maps in 3D rendering - such as normal maps or metalness maps - guide light and shadow across the contours of a digital landscape.
Here’s how these “maps” serve as navigational tools for 3D renderers.
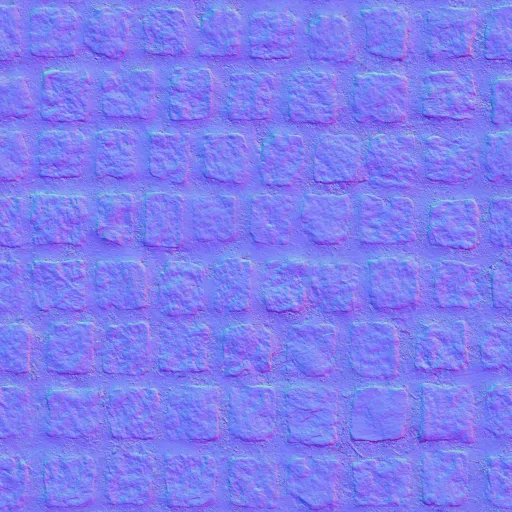
Normal Maps
Normal maps are essential for adding intricate detail to surfaces without increasing the polygon count. They simulate small bumps and grooves by altering the surface normals of the object. This manipulation creates the illusion of depth and complexity on a flat 3D surface, which requires less computing power than highly tessellated model (hi-poly).
In other words, normal maps simulate details of complex models on a simpler surfaces that are both faster to download and render.
Roughness Maps
Roughness maps control the light scattering on a surface. A high roughness value results in a material that diffuses light widely, creating a matte appearance.
Conversely, a low roughness value means the surface is smooth and reflects light in a more concentrated pattern, giving it a glossy look. This map is critical for defining the tactile feel of materials visually.
Metalness Maps
Metalness maps specify which parts of the surface are metallic and which are not. This binary distinction (often just white or black in the map) instructs the rendering engine how to display light reflections. Metals reflect most of the light that hits them, whereas non-metals absorb more light, reflecting only the diffuse color.
Ambient Occlusion (AO) Maps
AO map fakes shadows in crevices and gaps where ambient light would naturally be occluded. Enhances depth by darkening specific areas that are less exposed to light.
It’s effective in enhancing the visual impact of complex models by accentuating the depth of details.
Together, these maps contribute to the creation of materials that respond believably to light and environment changes in 3D contexts, enhancing the realism and immersion of virtual scenes.
How to Create PBR Materials for AR, VR, and Ecommerce?
Creating PBR materials from scratch and sourcing existing high-quality textures are crucial for realistic Web 3D experiences.
You can use tools like Adobe Substance 3D - the industry leader in PBR material creation.
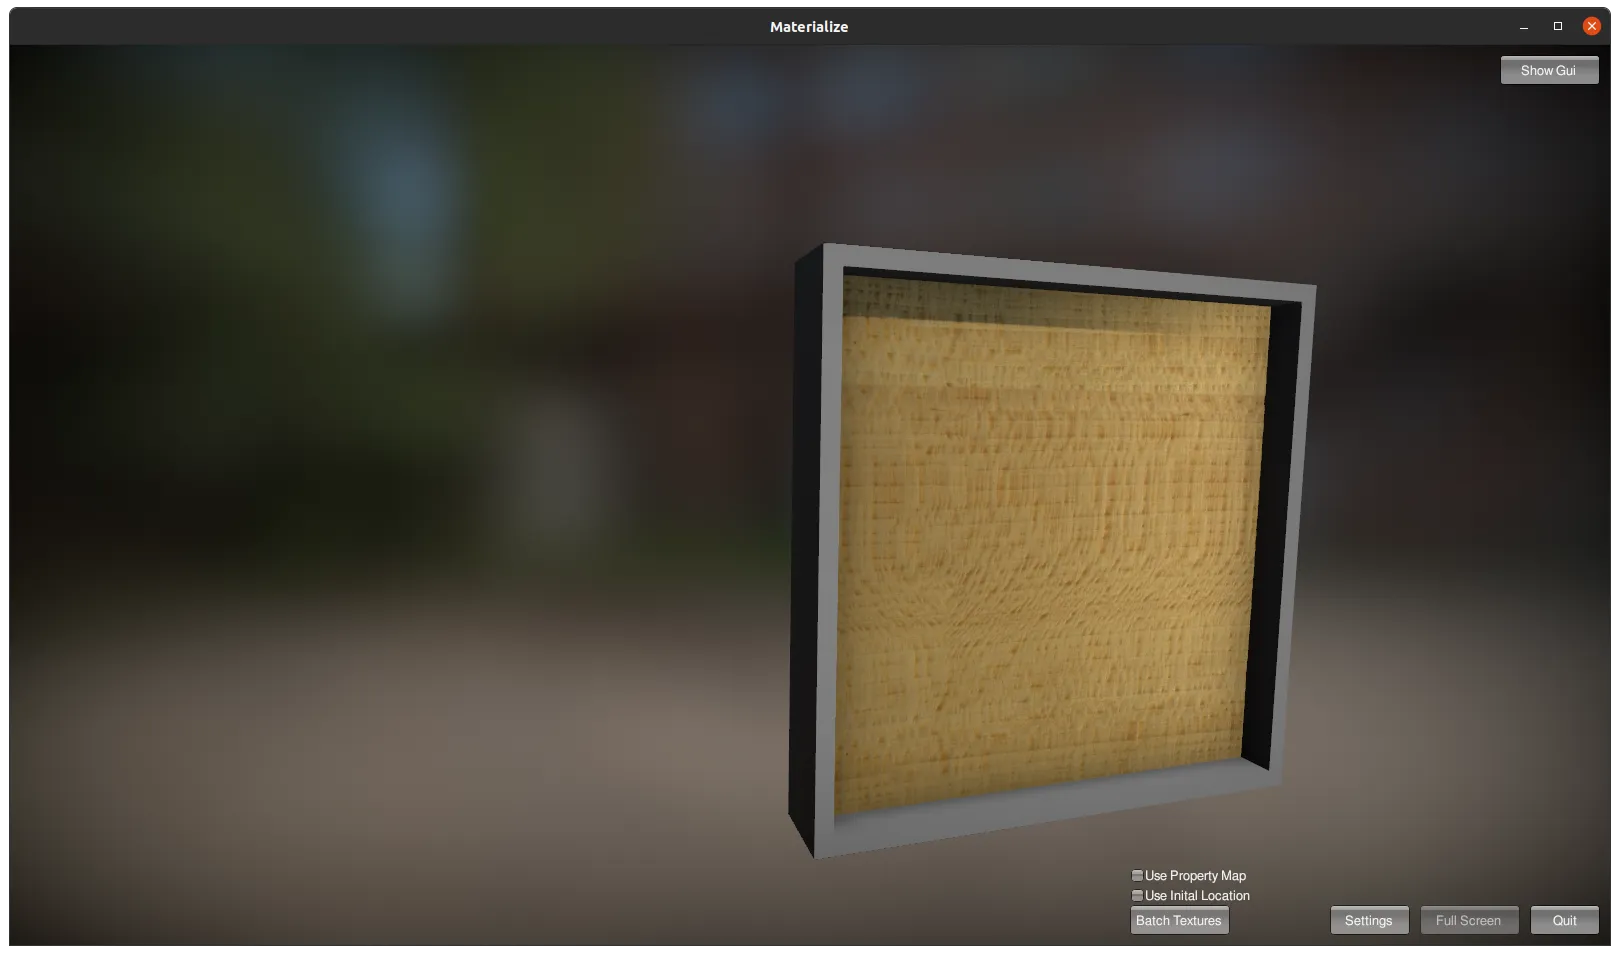
There is also a decent open source tool - Materialize - a free alternative to Adobe Substance 3D. Here’s a brief description on creating PBR materials with Materialize:
Creating PBR Materials with Materialize
Materialize allows you to create PBR materials from single images. This software is quite user-friendly and offers a straightforward process for converting an ordinary photograph into a full PBR material.
The typical workflow involves loading an image, creating maps such as height, normal, AO, and others within the tool, and then combining them to produce a material that can be exported and used in 3D projects.
Download High Quality PBR Materials
If you are in a rush, or you’d rather avoid creating textures from scratch, several resources offer ready to use PBR materials:
- Poly Haven: Formerly known as Texture Haven, Poly Haven offers a wide range of free PBR materials, models, and HDRIs. All assets on Poly Haven are public domain (CC0), meaning you can use them for any purpose without restrictions.
- ambientCG: Provides an extensive collection of free PBR materials, available under the Creative Commons CC0 License. This allows for both personal and commercial use without any attribution required.
- textures.com: Another excellent resource for PBR materials, textures.com offers both free and premium assets. The site includes a vast library of textures that cater to various needs, though higher resolution textures may require a subscription.
- BlenderKit: Free and paid models, materials and HDRi skies, not only for Blender3D.
With these resources, you can effectively create and utilize high-quality PBR materials to improve the realism and of your 3D projects.
Conclusion
PBR materials are an essential component of modern 3D visualization, particularly in the context of ecommerce, augmented reality, and virtual reality experiences. Understanding the principles of Physically Based Rendering, such as the metallic and specular workflows, allows for the creation of high-fidelity and immersive 3D models.
The use of maps, such as normal, roughness, metalness, and ambient occlusion, plays a crucial role in defining the visual characteristics and behavior of different materials in virtual environments. Moreover, the availability of tools like Materialize and online resources like Poly Haven, ambientCG, textures.com and BlenderKit simplifies the process of creating and sourcing high quality PBR materials for 3D projects.
Want to integrate PBR materials into your Magento 2 store? Check out this demo of AR and 3D in your browser!